
How to Replace Your Vent Covers
If your heating vent covers are looking aged or worn, it may be time to replace them. A new vent cover can be the perfect way to update your old home, and it won’t break the bank. They come in different styles, so you’re sure to find one that matches your decor. Fortunately, replacing vent covers should be an easy task. You just need the right supplies. Before installing, make sure you clean up any dirt or debris around the area. Here are some steps to consider.
Before replacing vent covers get the following tools:
- Plastic screw anchors
- Mounting screws (should be included with new vent)
- Screwdriver
- Replacement Vent
- Vacuum
- Tape measure
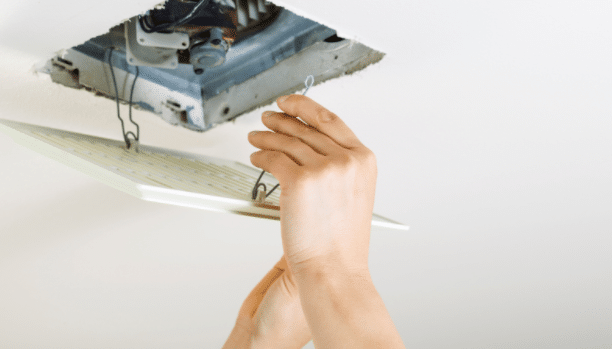
Step 1 – Remove the Vent
The process of removing a vent will vary depending on the type and design, but it is generally best to start by unscrewing any anchoring screws with your screwdriver. Next, you should be able to lift out or wiggle out whatever remains in place, which can include plastic pieces such as vents if they’re still attached tightly enough so that flathead tools may also help. Sometimes these edges are sharp, making gloves helpful while handling them regularly- especially at their most vulnerable point: where there’s often an open area near one end (the bottom).
Step 2 – Measure for Size
When you’re replacing a vent, measure the opening first. You can also measure from where it’s coming out to ensure there won’t be any gaps or holes in between for airflow purposes—it doesn’t want things getting stuck inside.
Step 3 – Clean the Vent
Once the ductwork is clear of any large items, use a vacuum to pick up all remaining dirt and debris. Then, put as much hose into the said vent so that you don’t have an obstruction in your system!
Step 4 – Insert Anchors
When installing the new vent, make sure you insert plastic anchors into existing holes for added security. If your screws are larger than what’s needed, they might slip through the woodwork inside of a house. Pre-drilling the screw holes will help prevent them from getting lost while still providing an easy method to mount them securely onto their surface.
Step 5 – Replace Vent
The new vent must be installed in the floor or ceiling register by inserting it into its space. If no brackets are holding up ductwork, you may need to make adjustments so that your vent sits completely flush with either a solid surface.
Replacing vent covers is a relatively easy project, so contact the professionals at Air Rescue if you have questions or need help. For more information, visit our website or call us at 813-397-6233
Sources:
https://www.doityourself.com/stry/how-to-replace-a-heating-vent-cover